How to Measure Static Pressure in HVAC: 6-Step Field Procedure
Static pressure in an HVAC system is the resistance the fan must overcome to push air through ducts, filters, and the coil. Measuring it correctly — as total external static pressure, or TESP — is how technicians confirm a system is delivering its rated airflow. This guide walks through the six-step field procedure, where to drill test ports, what readings mean, and which instrument to pick up.
Related guide: Once you know the static-pressure value, the next step is picking the transmitter itself — range, switch vs transmitter, and 4-20 mA output are covered in how to choose an HVAC differential pressure transmitter.
What Static Pressure Is in HVAC (and Why It Matters)
Static pressure is the force air exerts against the duct walls, distinct from velocity pressure (the kinetic force of moving air). In HVAC field work the number that matters is TESP: total external static pressure, measured across the air handler. Every blower has a manufacturer-rated TESP on its nameplate. If your measured TESP is well above that rating, airflow is choking; if well below, you likely have a duct leak or a failing blower. Test-and-balance procedures from the National Environmental Balancing Bureau treat TESP as the primary field diagnostic for residential air-handler performance.
The 6-Step Field Procedure (TESP)
Run these six steps in order. Skipping the cleanliness check or the zero step is the single most common cause of bad data on a service call.
Step 1 — System cleanliness check. Verify the filter is the design filter (not a higher-MERV swap), the evaporator coil is clean, and the blower wheel is free of dust. A clogged filter alone can push TESP well above baseline and mask the real fault.
Step 2 — Choose test port locations. You need at least two points: one on the return side (between filter and blower) and one on the supply side (downstream of the coil, before any branch takeoffs). Pick laminar-flow sections — one duct diameter clear of elbows, dampers, or transitions — so the probe sees a clean static signal.
Step 3 — Drill 1/4-inch test ports. A 1/4-inch bit gives a snug fit for most manometer probes. Drill through sheet metal only — never through the coil casing, the heat exchanger, or any flexible duct. Cap unused ports with a static pressure plug or aluminum tape when finished.
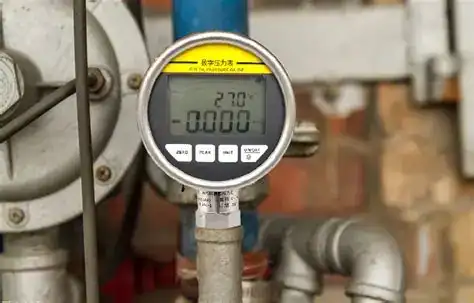
Step 4 — Zero the manometer. With both ports open to room air, press zero. Skipping this step bakes a systematic offset into every subsequent reading.
Step 5 — Insert probes and record. Insert the high-side probe into the supply port and read supply static (positive, typically 0.2–0.5 inWG). Move to the return port and read return static (negative, typically −0.2 to −0.4 inWG). Record both values with their signs.
Step 6 — Calculate TESP. TESP equals the absolute value of supply static plus the absolute value of return static. Compare the result against the blower nameplate rating and the acceptable-range table below.
Where to Drill the Test Ports
The four standard probe locations on a residential air handler are: (1) return plenum, between the filter and the blower; (2) supply plenum, downstream of the coil; (3) between the coil and the blower, for isolating coil-only pressure drop; and (4) the filter side, for measuring filter loading directly.
For each location, follow three rules:
- One duct diameter clearance from elbows, takeoffs, dampers, and transitions. Turbulent zones give swinging readings you cannot interpret.
- Never pierce the heat exchanger, the coil casing, or any flexible duct. A pinhole in a fuel-fired heat exchanger is a safety event, not a measurement error.
- Probe perpendicular to the duct wall, open tip facing into the airstream for total pressure, or flush with the wall for pure static.
Acceptable Ranges, Unit Conversions, and How to Interpret Your Reading
A typical residential PSC-blower system runs 0.3 to 0.5 inWG TESP. ECM-blower systems with variable-speed motors usually read 0.5 to 0.8 inWG because the firmware ramps speed up to compensate for system resistance. Light commercial systems sized to ACCA Manual D typically target 1.0 to 1.5 inWG. Anything above 1.0 inWG on a residential PSC unit is a red flag.
Acceptable TESP by system type:
| System type | Acceptable TESP (inWG) | Acceptable TESP (Pa) | Action if exceeded |
|---|---|---|---|
| Residential PSC blower | 0.3 – 0.5 | 75 – 125 | Check filter, coil, duct sizing |
| Residential ECM blower | 0.5 – 0.8 | 125 – 200 | Check filter; then coil if persistent |
| Light commercial | 1.0 – 1.5 | 250 – 375 | Check dampers and branch sizing per Manual D |
Unit conversion reference — useful when reading a Pa-graduated digital gauge alongside an inWG mechanical one:
| Unit | 1 inWG equals | Common HVAC value |
|---|---|---|
| Pa | 249 Pa | 0.5 inWG ≈ 125 Pa |
| kPa | 0.249 kPa | 1.0 inWG ≈ 0.25 kPa |
| psi | 0.036 psi | 0.5 inWG ≈ 0.018 psi |
If a reading is high, the four most common causes are a dirty filter, a dirty coil, undersized return ductwork, and over-closed balancing dampers. For the underlying pressure equation, see our gauge pressure formula guide; for quick unit math, use the pressure unit converter.
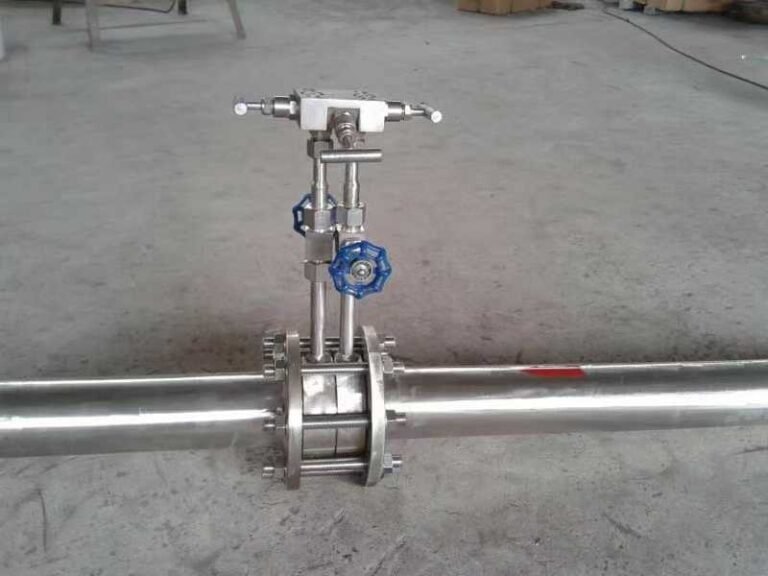
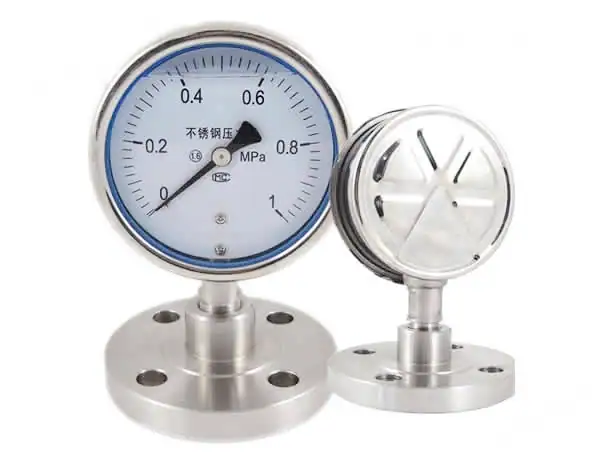
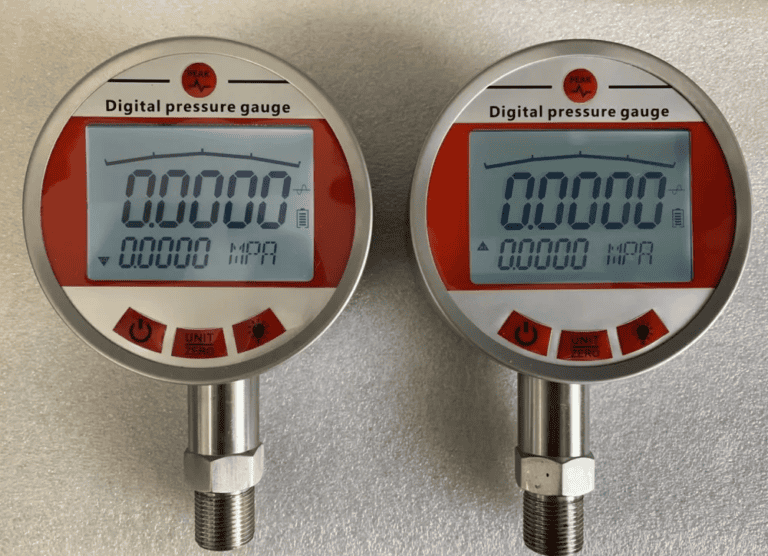
Choose Your Device: Manometer vs Magnehelic vs DP Transmitter
Three instrument classes cover almost every HVAC static-pressure job:
| Device | Accuracy | Power | Best use | Cost class |
|---|---|---|---|---|
| Digital dual-port manometer | ±1% FS | Battery | Service calls, commissioning | Mid-range |
| Magnehelic mechanical gauge | ±3% FS | None | Quick spot-check, panel mount | Entry-level |
| 4-20mA DP transmitter | ±0.25% FS | 24 VDC | Permanent install, BMS integration | Professional |
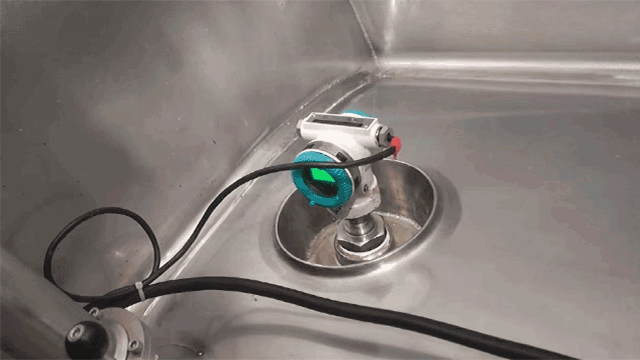
For continuous monitoring tied into a building automation system, swap the handheld for a 4-20mA differential pressure transmitter:
- HMK HE30 — wind and differential pressure sensor, 0–10 kPa ranges, well-matched to typical HVAC duct work.
- HMK HM30 — micro differential pressure transmitter, 0–500 Pa ranges for low-pressure ventilation and clean-room applications.
- HMK HM23 — HVAC/refrigerant pressure transmitter with strong EMC immunity and Ex ia II CT5 rating, for refrigerant-side pressure on the same air handler.
- HMK HM200E — wireless LoRa digital pressure gauge for retrofit monitoring without conduit runs.
A handheld manometer is the right tool for a single service call. A permanent DP transmitter is the right tool when you want trended data or alarm thresholds in the BMS. The HMK pressure transmitter family overview breaks down sensing principles for each option.
Three Common Mistakes That Cause Wrong Readings
Mistake 1 — Drilling near elbows, dampers, or transitions. Turbulent zones give static readings that swing 0.1 to 0.3 inWG within seconds. Move the port at least one duct diameter clear of any disturbance.
Mistake 2 — Skipping the zero step. Modern digital manometers drift with temperature. A probe-in-pocket starting bias of 0.05 inWG carries through every subsequent measurement. Re-zero with both ports open to room air at the start of every job.
Mistake 3 — Reading without a clean-system baseline. A 0.7 inWG reading on a PSC system tells you nothing if you never recorded the new-filter, clean-coil baseline. Always measure on a freshly serviced system first, then trend against that baseline on follow-up visits. SMACNA HVAC Duct Construction Standards and the Home Performance with ENERGY STAR program both treat baseline trending as the basis of HVAC commissioning.
FAQ
What is static pressure in HVAC?
Static pressure is the resistance air encounters as the blower pushes it through the duct system, filter, and coil. It is measured in inches of water column (inWG) or pascals (Pa) and is the primary diagnostic for whether the system is delivering its rated airflow.
What is normal static pressure for residential HVAC?
For a PSC-blower system, 0.3 to 0.5 inWG total external static pressure (TESP) is normal. ECM-blower systems typically run 0.5 to 0.8 inWG. Anything above 1.0 inWG on a residential unit signals airflow restriction.
What tool do I need to measure static pressure?
A handheld dual-port digital manometer covers most field work. For permanent monitoring tied to a BMS, use a 4-20mA differential pressure transmitter such as the HMK HE30 or HM30. For refrigerant-side pressure on the same air handler, the HMK HM23 carries the Ex ia II CT5 rating.
What causes high static pressure in a HVAC system?
The four most common causes are a clogged filter, a dirty coil, undersized return ductwork, and over-closed balancing dampers. Less often: a collapsed flex duct or a closed zoning damper on a multi-zone system.
Static pressure measurement is the fastest non-destructive diagnostic for HVAC airflow problems. Run the six steps in order, drill ports in laminar-flow zones, always zero the manometer first, and trend against a known clean-system baseline. For continuous monitoring of the duct side, the HMK low-pressure transducer family covers the typical HVAC range with BMS integration. For the full transmitter taxonomy, see the pressure transmitter types pillar; for wireless retrofits, the HM200E.